🎓 Creation to completion
Adding & referencing files on a worksheet
Following-on from the previous lesson, let's look at how you can add files to a worksheet and reference files on an entry.
Adding files
Files can be added to a worksheet in 2 places: On the worksheet, or via the Files screen. This lesson will focus on the former. We cover the files screen in more detail in the files portion of the lessons, starting with Files overview.
There are a few different ways to add a file to a worksheet. You can:
- Click to upload
- Drag-and-drop
- Paste from clipboard
Click to upload
Navigate to the Files tab on the worksheet. 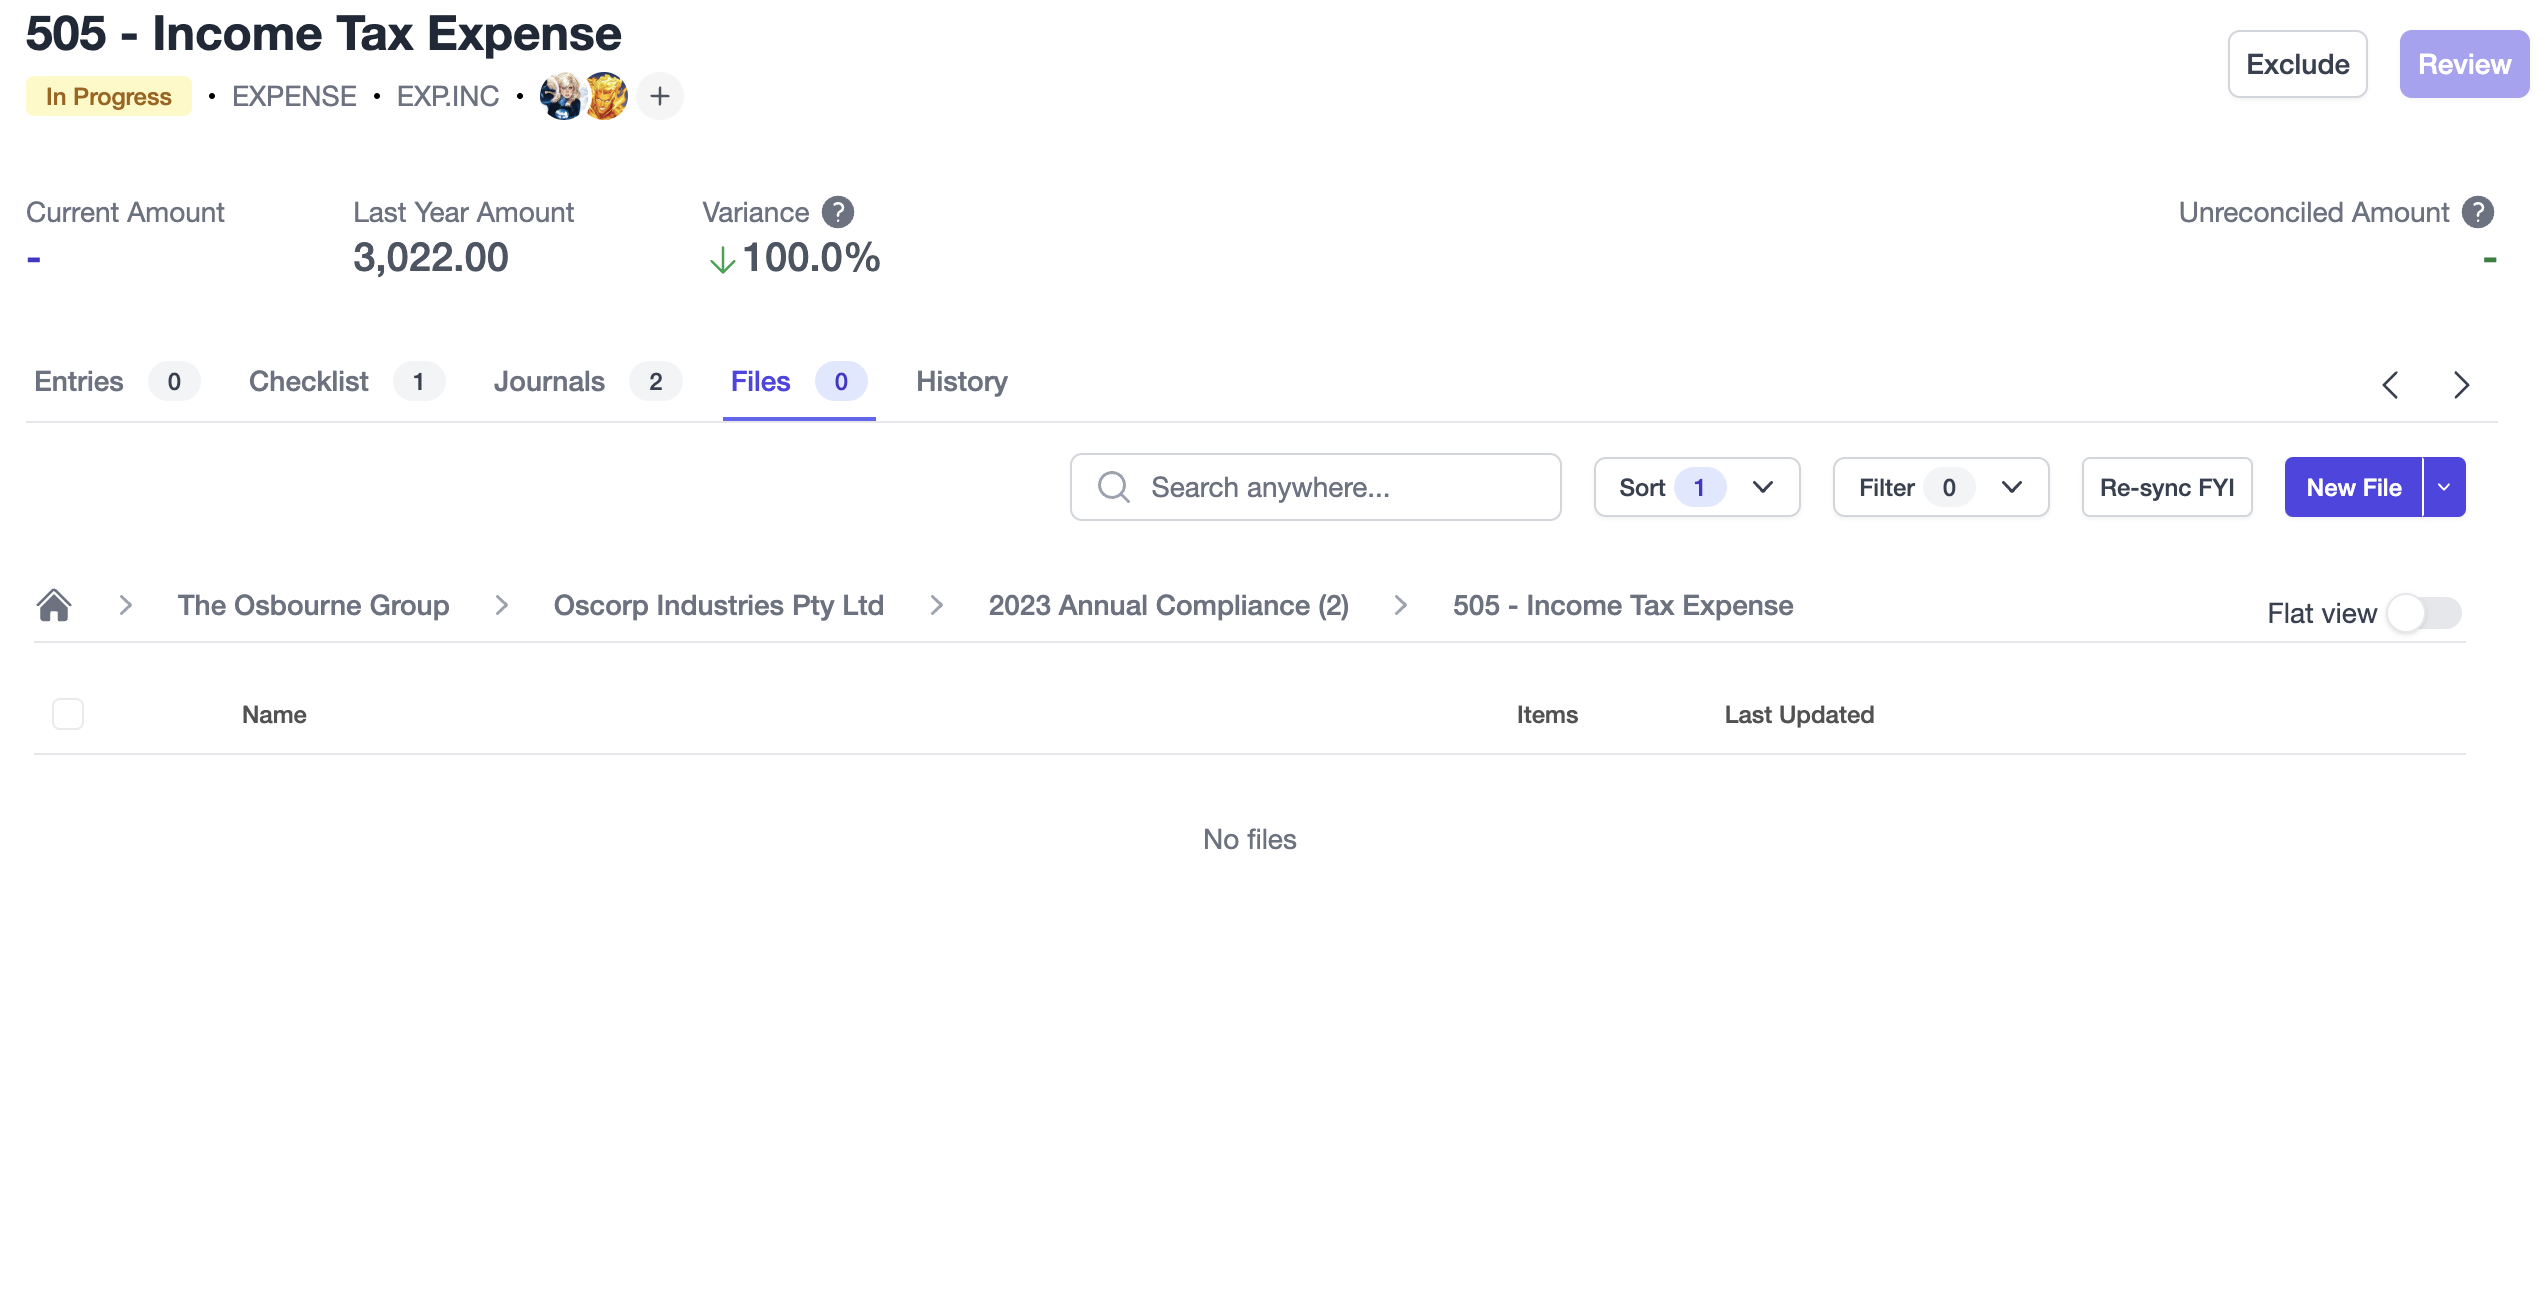
Here you'll see the follwing:
- search, sort, and filter
- action buttons
- breadcrumb trail
- flat view toggle
- a table of the files in the current directory
To upload a new file from your computer, click New file. Navigate to and select your desired file(s) and click Open. The file(s) will then be uploaded to the directory you are in. By default, you will be in the worksheet you are on; however, you can use the breadcrumbs to navigate to other directories to view, edit, and add files.
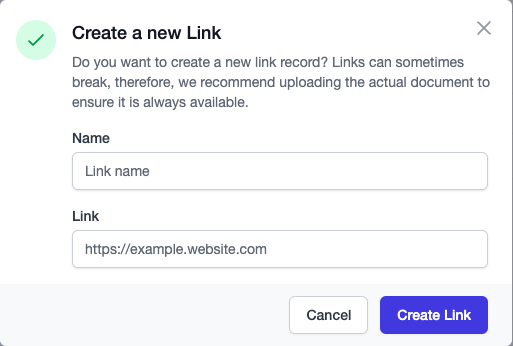
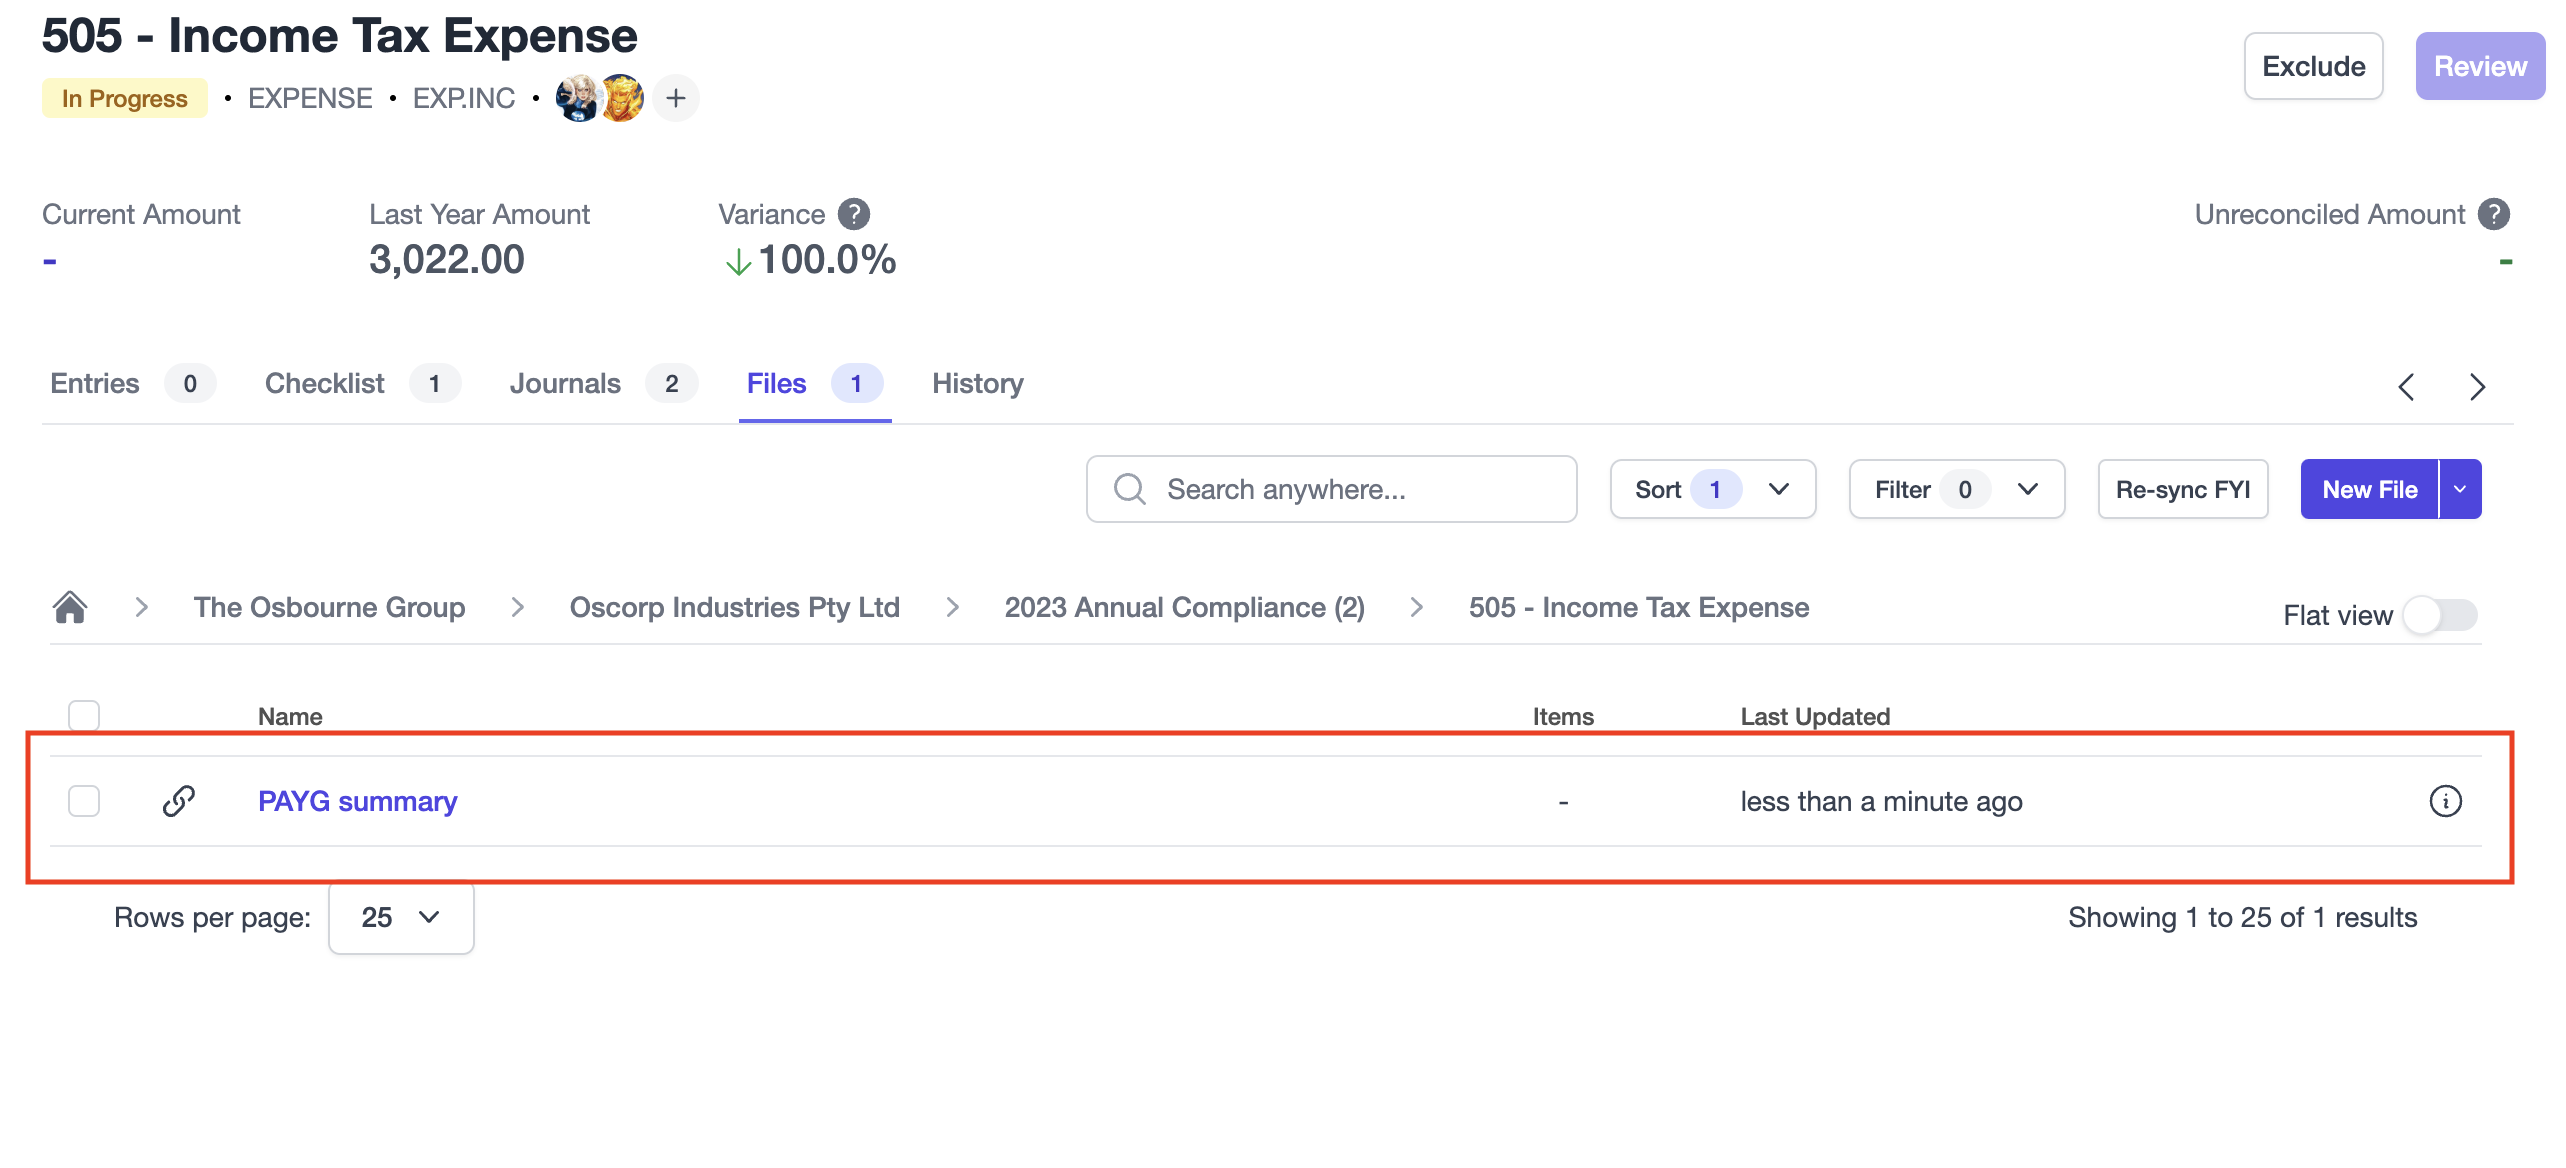
To add a new link, click New link. You'll see a popup allowing you to enter a name and enter or paste the url. Once you click Create Link, you will now have a link added to the worksheet.
Drag-and-drop
We've provided drag-and-drop functionality on the worksheet screen and on individual entries. By dropping files onto the worksheet screen, the file(s) will be added to the worksheet. 
Note
You don't have to be on the Files tab to drag-and-drop files on a worksheet. Simply drag and drop a file anywhere on screen to add it!
Dropping files onto an existing entry automatically adds the file(s) to the worksheet and reference the file(s) on the entry! 
Paste from clipboard
If you prefer not to drag-and-drop, you can select files on your computer and copy (ctrl + c or cmd + c) the files to your clipboard. Navigating back to the worksheet screen, you can then simply paste (ctrl + v or cmd + v) to add the file(s) to the worksheet.
Tip
To simplify adding screenshots to a worksheet, you can use your operating system's native screenshot-to-clipboard functionality, then you can simply paste on the worksheet.
Referencing files on an entry
Now your files are added to the worksheet, you can use our file navigator to easily select and reference files to entries. Click the paperclip icon on an entry to open the navigator.
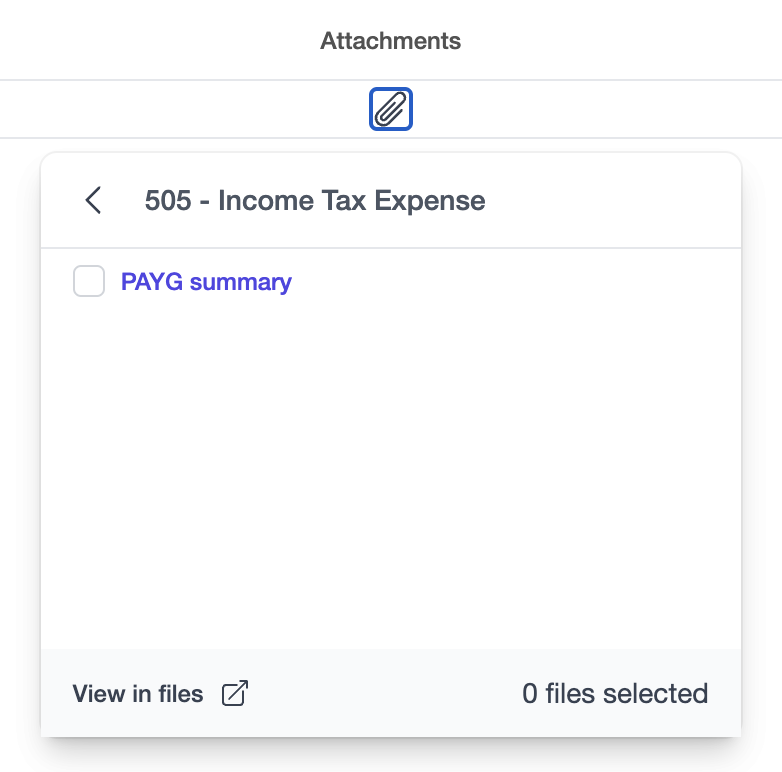
When you open the file navigator you'll see the files added to the worksheet. Files with a paperclip icon to the right of their name indicates the file has been referenced on an entry, while files with the checkbox selected indicate they are referenced on the current entry.
A powerful feature of Cimplico Workpapers, is the ability to reference files from other worksheets, workpapers, and entities within the group. In the file navigator, simply use the back arrow at the top to work your way up the path to locate your desired file(s).
When you have selected the files you would like to reference, simply click the checkbox and the selected file(s) are now referenced to the entry. Files selected from locations outside of the worksheet will now appear as references. References are covered in more detail in Files overview.
Viewing a file
To effectively reference files on an entry, you need to be able to view the files. Fortunately Workpapers can help with this. Click the name of a file within the file navigator or from the worksheet Files tab to launch the file previewer. If a file is in a browser-readable format, such as PDF, JPEG, or PNG, it will be displayed within the file previewer.
The file previewer currently allows you to jump to a page, zoom in/out, and download the file, with more file interaction improvements to come!
You can also move the file previewer around to find a position best for you! Do this by dragging the header to the desired location.
If you would prefer to view the file in full-screen mode, simply click the launch in new tab icon in the file previewer header. 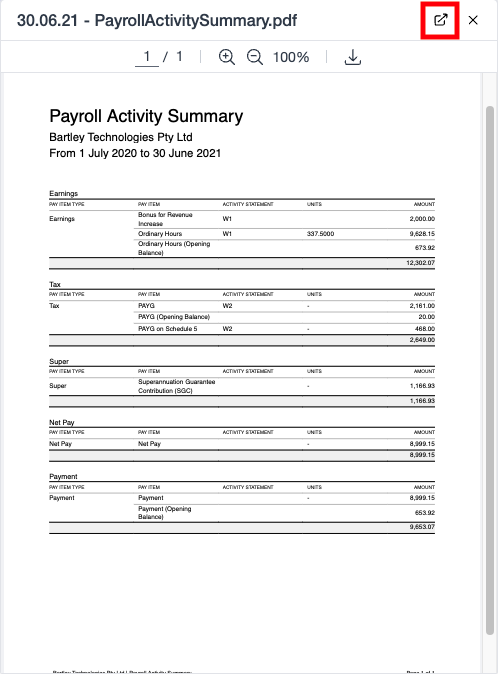
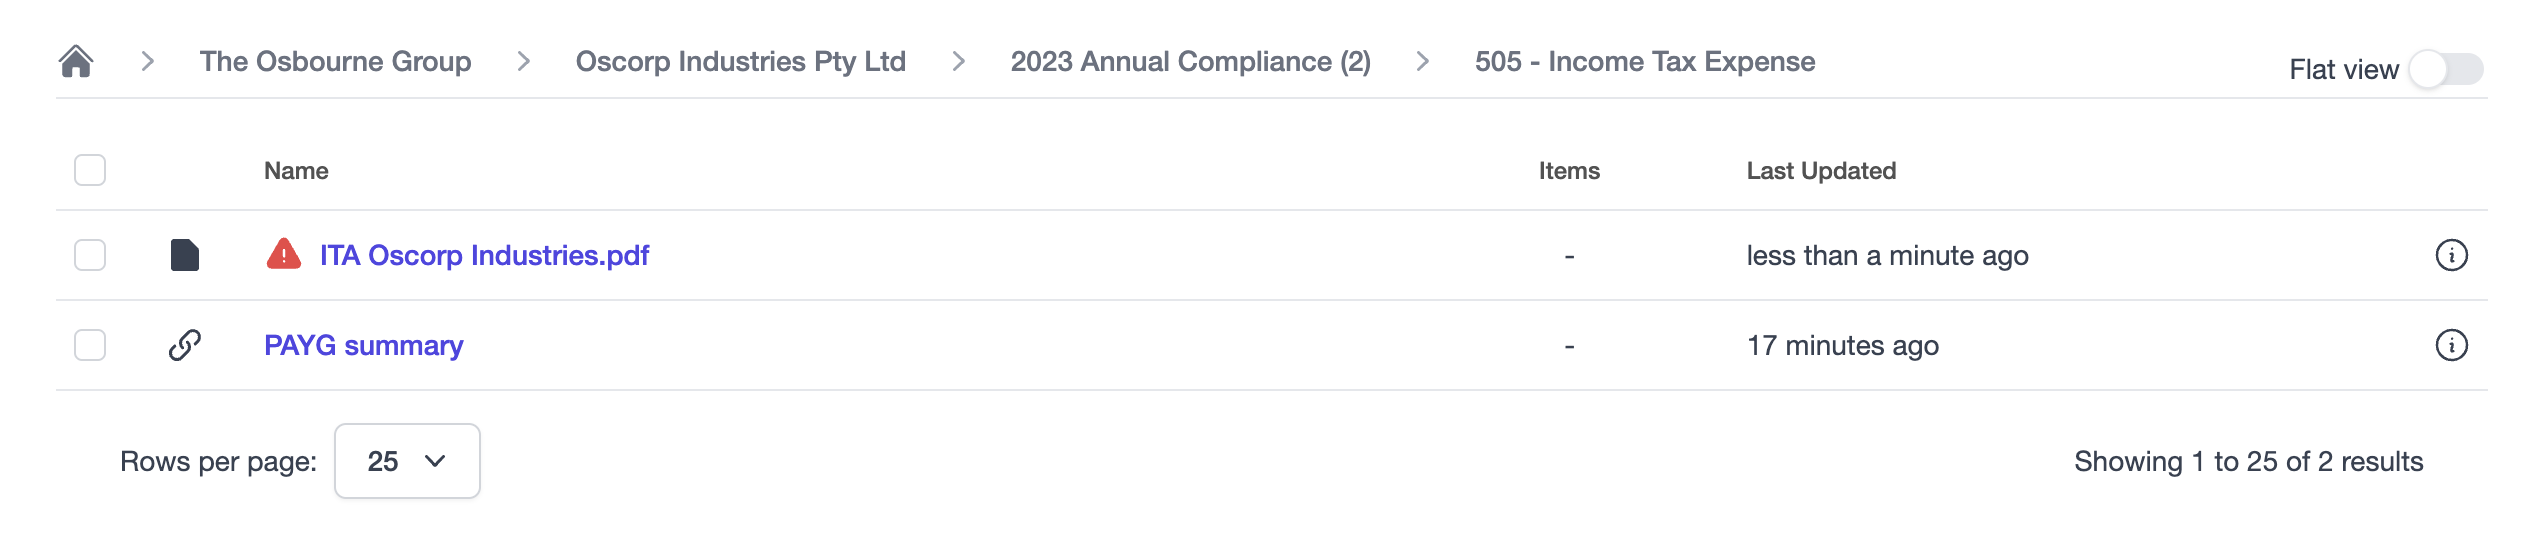
If a file cannot be displayed in the browser you'll be prompted to download the file to view it. In these cases, the file will be marked as checked-out to mitigate the risk of versioning issues. Clearing the checked-out status of a file will require you to either re-upload the file or to mark the file as checked-in. Handling checked-out files is covered further in Files overview.
Check-out files can be recognised by their distinctive red warning symbol preceeding the file name.