🎓 Creation to completion
Procedures overview
Procedures ensure a workpaper is completed with the appropriate conventions employed. While procedures are not a new concept, procedure lists in Workpapers are made to be shorter and simpler to follow, as a number of items related to trial balance items are abstracted away from procedures and placed into checklists instead.
In case you missed it, we covered the differences between procedures & checklists in Procedures & Checklists, and covered checklists in detail in Worksheet checklists.
Procedures page
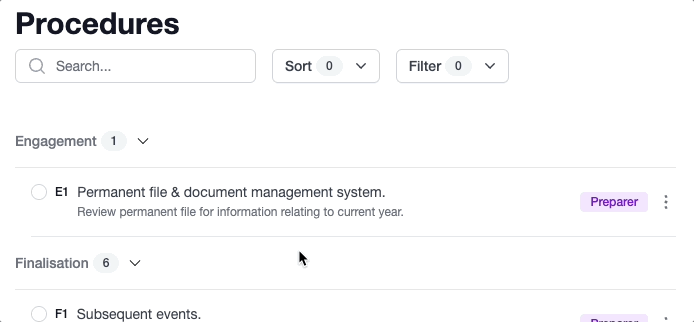
You can find a workpaper's procedures by heading to the Procedures tab within a workpaper.
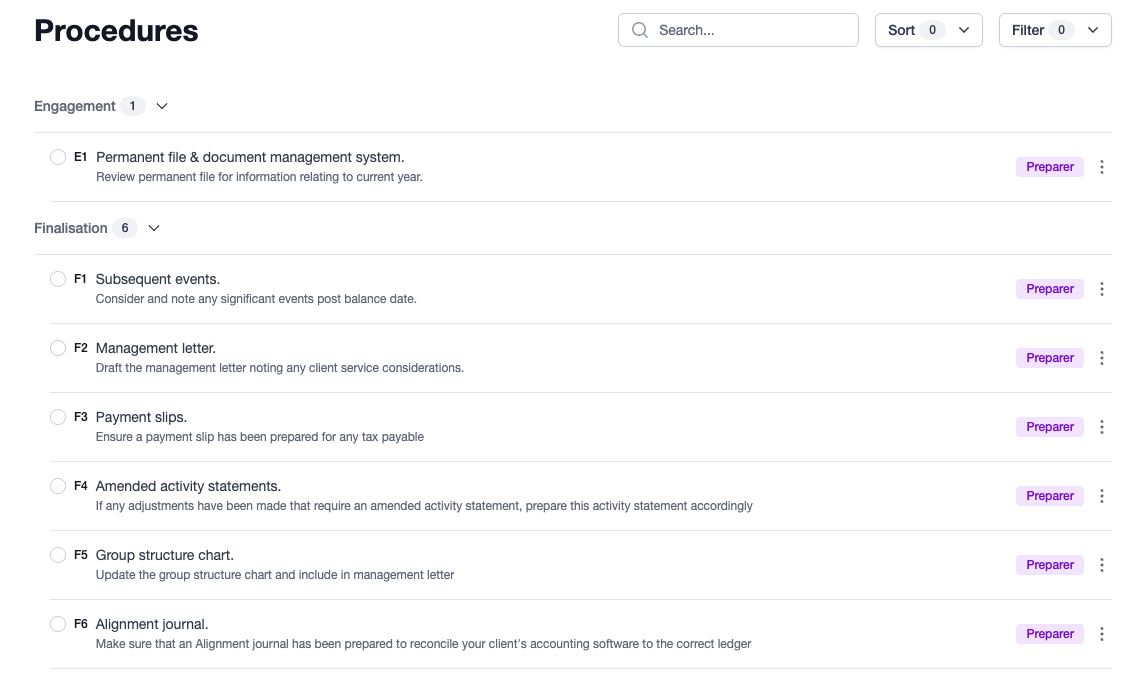
Procedures are setup and configured at the firm level, and applied to a workpaper. When procedures are setup, each procedure item is allocated to a role and may be allocated to an entity type. In doing this, the procedure items that show up in a workpaper are the relevant items for users attention. For example, in a workpaper for a company, the procedure items that will appear in the workpaper are Company items and items without an entity type.
What does a procedure look like?
For context, a procedure looks like the following:

From the example above we can see the procedure has a:
- Code
- Name
- Description
- Role
It also belongs to the category Tax Return, and is scoped to Companies. In the case of our company workpaper, this item would show up, while items scoped to other entity types would not.
Completing a procedure
As procedure items are scoped to roles, only those that hold the assigned role or higher can complete a procedure item. E.g. A preparer cannot complete a reviewer procedure, but a reviewer can complete both reviewer and preparer procedures.
To complete a procedure, simply check-off the procedure via the checkbox on the left of the procedure item.
Doing so will record the user that checked-off the item and the time the item was checked-off.
Marking a procedure as not applicable
While we try to scope and reduce procedures down to the shortest, most relevant list of items, occasionally there will still be items that are not applicable (n/a). In these cases, you can mark procedures as n/a. Doing this will require user's to provide a reason why the item is n/a. Once it's marked as n/a, it will no longer count towards the workpaper certification and completion requirements.
To mark a procedure as n/a, simply click the elipses icon on the right of the procedure and select Mark as not applicable. When you do this a modal will appear requesting a reason to be provided.
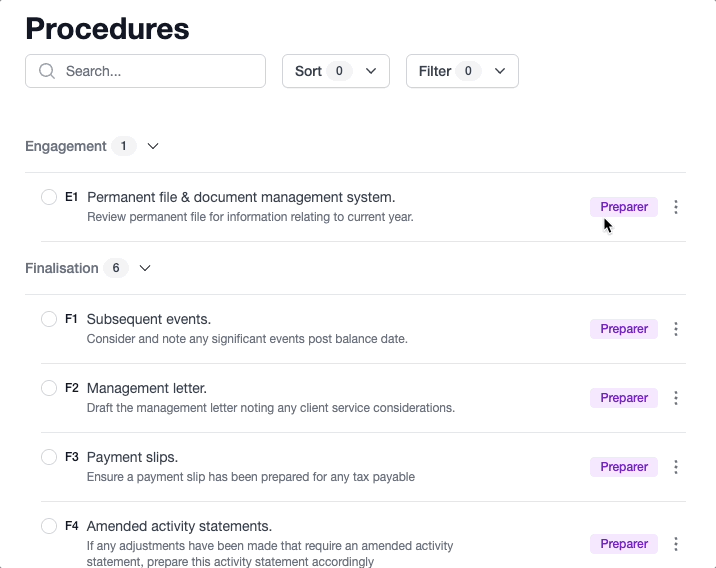
Once you have provided a reason, the item is now marked as n/a, with a record of the user and time the item was marked as n/a, along with the reason provided, viewed by clicking the dropdown arrow under the procedure.