🎓 Creation to completion
Files actions
There are currently several actions that can be performed on files. Some actions can only be performed on particular file types, and can be performed in bulk or only on individual files.
For quick reference, the below table summarises all current file actions, which file type they can be performed on, and if they can be performed in bulk (i.e. performed on multiple files simultaneously). Below the summary is a section for each file action, outlining it in more detail along with instructions to perform the action.
File Actions Summary
| Action | Description | Applicable on | Bulk? |
|---|---|---|---|
Delete | Deletes the file(s)/link(s)/reference(s) |
| Yes |
Rename | Renames the file/link/reference |
| No |
Move | Moves the file(s)/link(s)/reference(s) |
| Yes |
Download | Downloads and checks-out the file(s)/reference(s) |
| Yes |
Duplicate | Duplicates the file(s)/reference(s) in the file system |
| Yes |
Replace (or Replace & Check-in) | Replaces the file/link. In the case of a file, the user can replace the file with another file. In the case of a link, the user can update the url |
| No |
New reference | Creates a new reference of the file/link |
| No |
Mark as Checked-in | Manually mark a checked-out file as checked-in without having to replace the file Note: This option is only available on checked-out files |
| Yes |
Make original | Converts the reference to a copy of the file/link it is referencing |
| Yes |
Go to Original | Takes the user to the location of the file/link it is referencing |
| No |
Delete
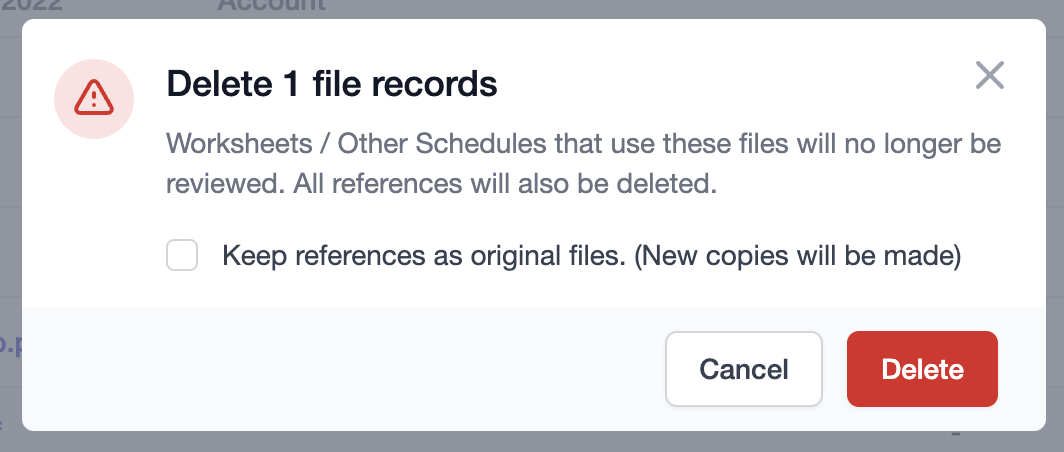
As implied, the Delete action allows you to delete one or many files, links, and references. Deleting a file will completely remove it from the system, therefore deleted files cannot be recovered.
When deleting files used on worksheets or other schedules, the file will be removed from the system and unreferenced from the worksheets/other schedule entries. Deleting a file with references will also delete the references; however, this functionality can be overridden in the Delete confirmation dialog, which will convert each reference to an original file. Unfortunately, this will sever the reference between the files. If this is not intended, consider using the Move functionality explored below to move the original file to a better location.
Note
Deleting files referenced on worksheet/other schedule entries will affect the review status of the worksheet/other schedule.
Files that are checked-out cannot be deleted. If you wish to delete a checked-out file, you must first replace and check-in the file, or mark it as checked-in. Both these actions are explore further below.
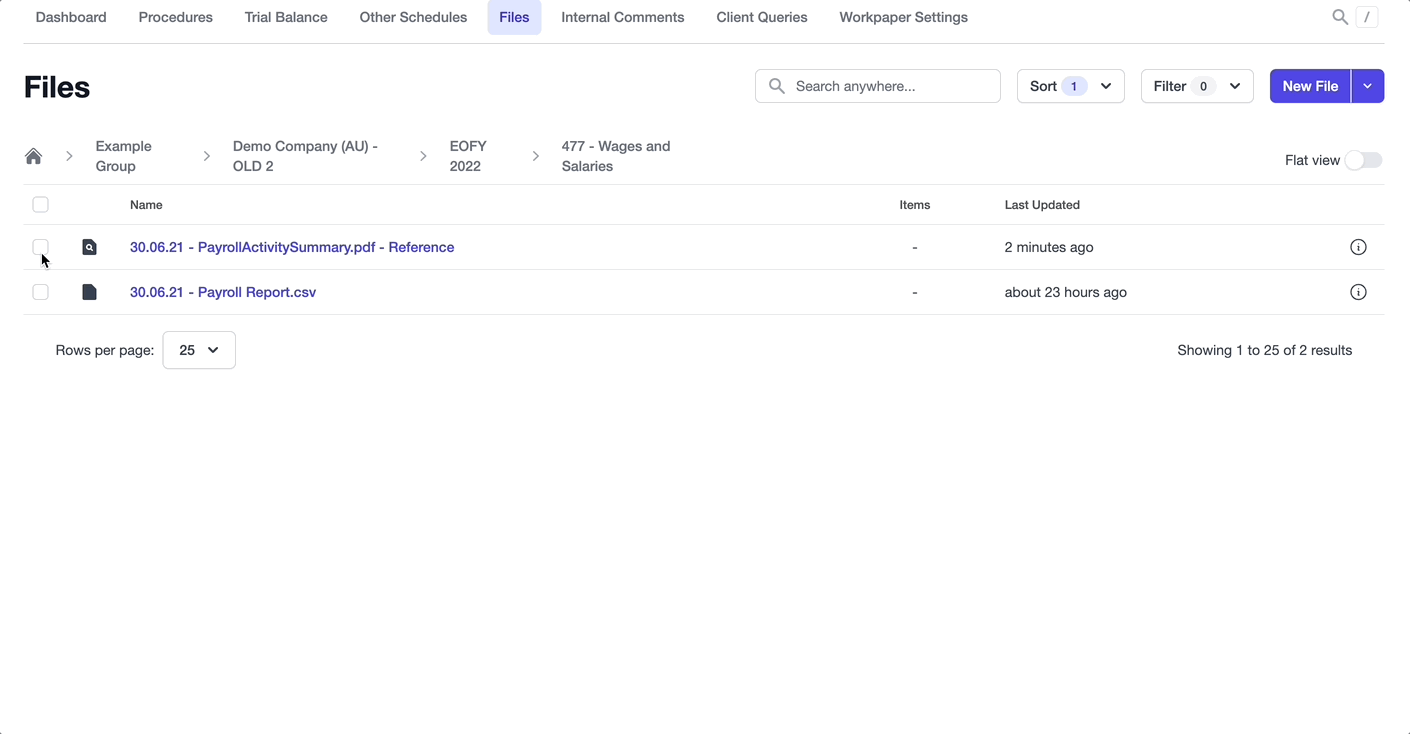
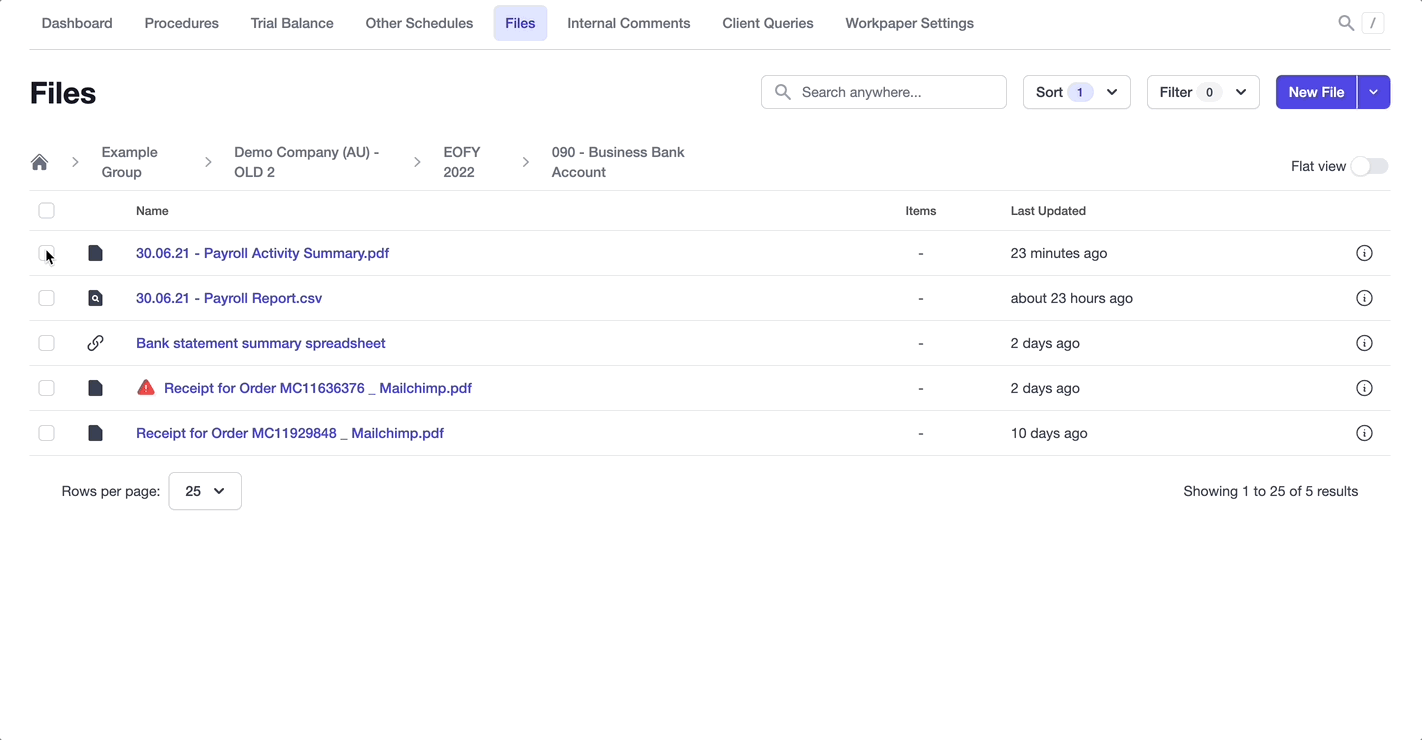
To delete a file/files
- Head to the Files screen and navigate to the file(s) you wish to delete.
- Select the file(s) you wish to delete.
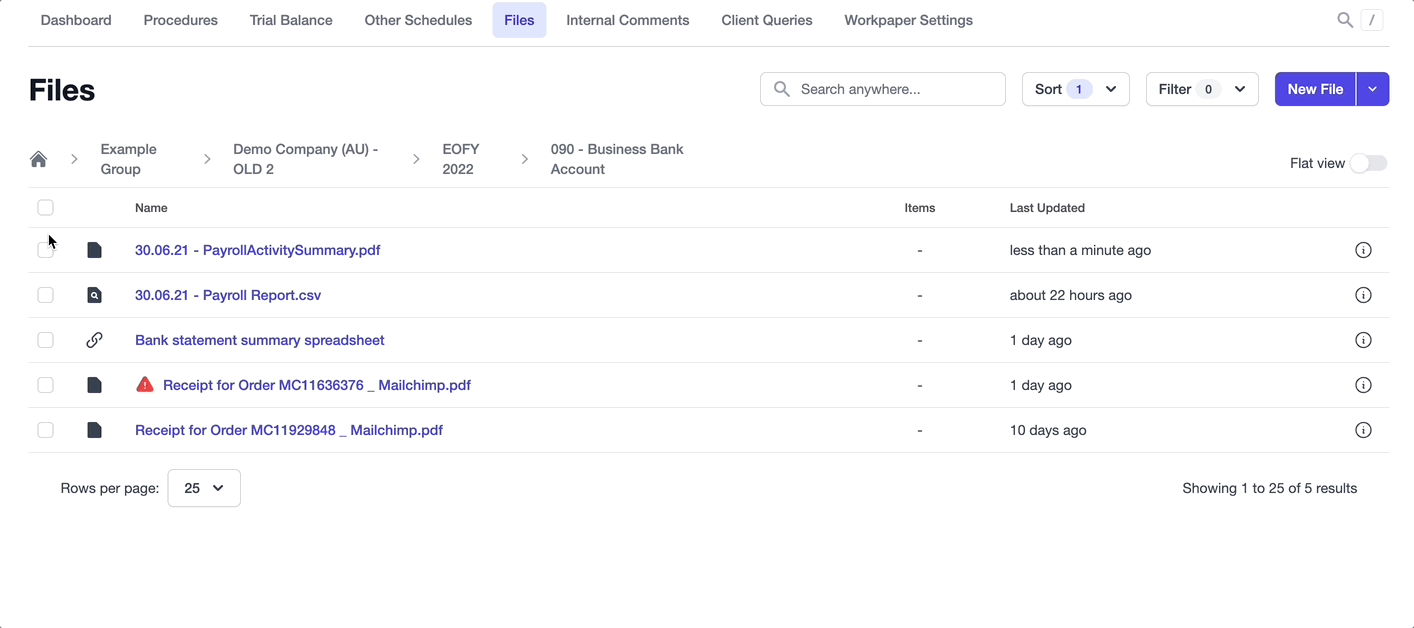
- Click Delete in the action bar, optionally select to keep references as original files, and finally click Delete in the confirmation dialog.
Rename
Renaming a file will change the name of the file in the system. Renaming will replace the original name of the file at the time of creation/upload.
Similar to deleting, renaming a file referenced on a worksheet/other schedule will affect the file's review status.
When renaming a file that has references, by default only the file selected will be renamed; however the rename confirmation dialog will allow you to also rename all references of the file.

To rename a file
- Head to the Files screen and navigate to the file you wish to rename.
- Select the file you wish to rename.
- Click Rename if it appears in the action bar, otherwise click the More actions menu button, then select Rename.
- When the Rename confirmation dialog appears, optionally select to rename all references of this file record, and finally click Rename.

Move
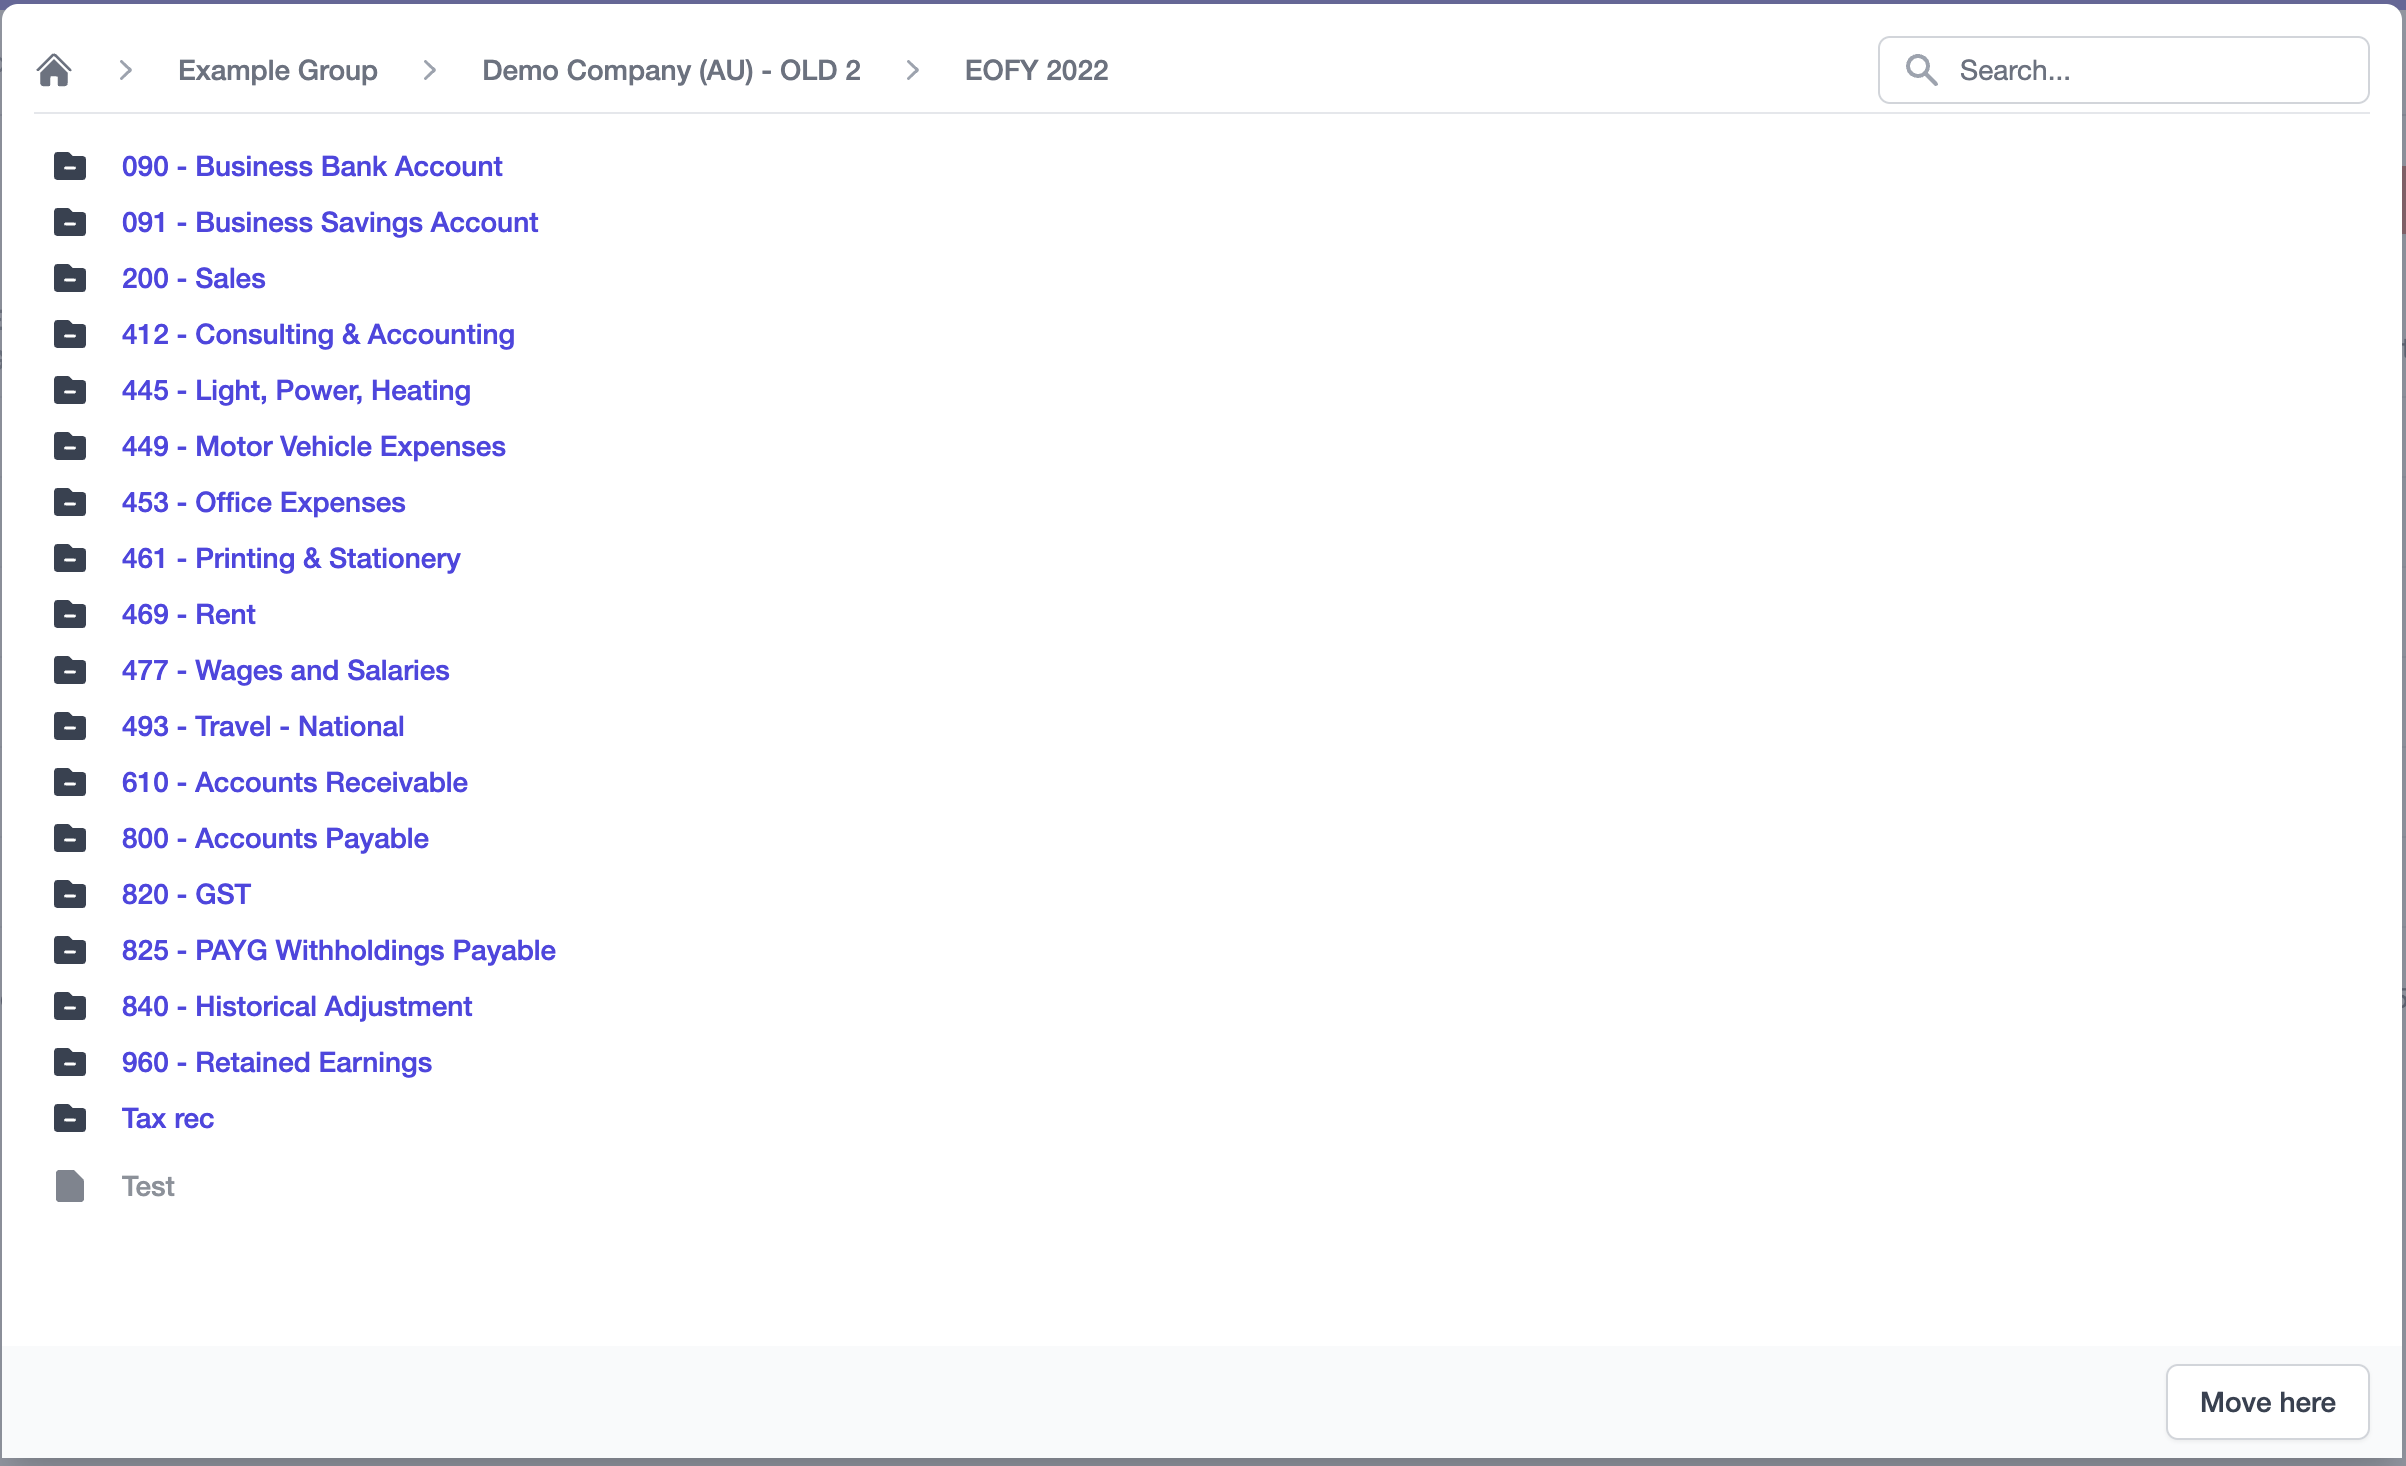
Moving files is an irreversible action that updates the path of the file(s) in the system. When moving a file, a folder navigator dialog will appear that lets you navigate up the hierarchy via the breadcrumbs, enter locations, and search for a location within the hierarchy.
Moving a file will affect the review status of the worksheet/other schedule the file is being moved from.
To move a file/files
- Head to the Files screen and navigate to the file(s) you wish to move.
- Select the file(s) you wish to move.
- Click Move if it appears in the action bar, otherwise click the More actions menu button, then select Move.
- When the Move file navigation dialog appears, navigate to the location you wish to move the file(s) via the breadcrumbs and folder selection.
- When you are in the location you want the file(s) to be moved to, select Move here.
Download
Downloading will save the file to your browser's preferred download location. Downloading files could lead to versioning issues, therefore downloaded files will also be automatically be "checked-out".
The checked-out function alerts other users that the file has been downloaded and therefore may be an outdated version. When checked-out, files can still be referenced and viewed/downloaded; however they cannot be deleted, as discussed earlier.

As discussed in Adding & referencing files on a worksheet, files such as PDF's and image files can be viewed in the browser without having to be downloaded; however, editable files such as Word and Excel files must be downloaded to be viewed. Despite being viewable, all files can still be downloaded via the Download action button.
To download a file/files
- Head to the Files screen and navigate to the file(s) you wish to download.
- Select the file(s) you wish to download.
- Click Download if it appears in the action bar, otherwise click the More actions menu button, then select Download.
- A Download confirmation dialog will appear alerting you that the file(s) will be marked as checked-out. Select Download when you're ready.

Duplicate
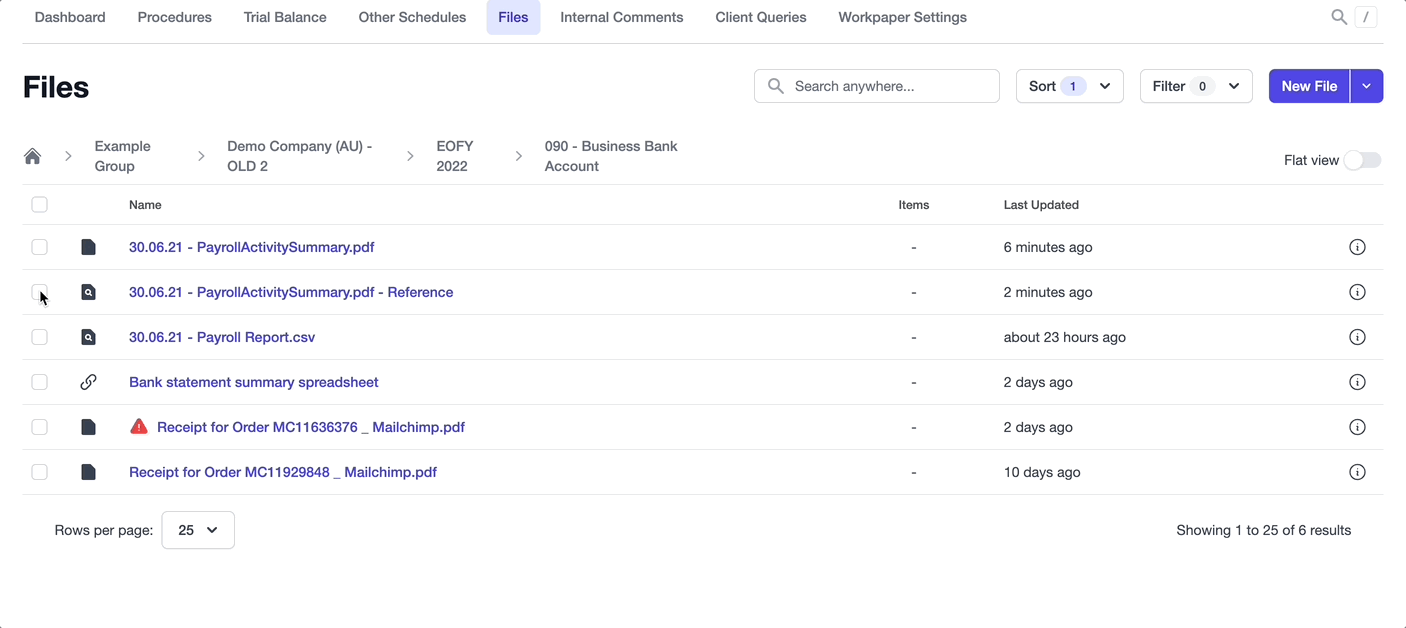
If you wish to make a copy of a file/files rather than a reference, you can choose to Duplicate the file/files. Duplicating a file will create a separate file record with the original name with a number in brackets appended to ensure the name is unique. E.g. Duplicating a file with the name "30.06.21 - Payroll Activity Summary.pdf" will re-name the duplicate file to "30.06.21 - Payroll Activity Summary (1).pdf". This file can then be renamed via the Rename action outlined earlier if you wish.
To duplicate a file/files
- Head to the Files screen and navigate to the file(s) you wish to duplicate.
- Select the file(s) you wish to duplicate.
- Click Duplicate if it appears in the action bar, otherwise click the More actions menu button, then select Duplicate.
- A Duplicate confirmation dialog will appear alerting you that the file(s) will be created as original files. Select Duplicate when you're ready.
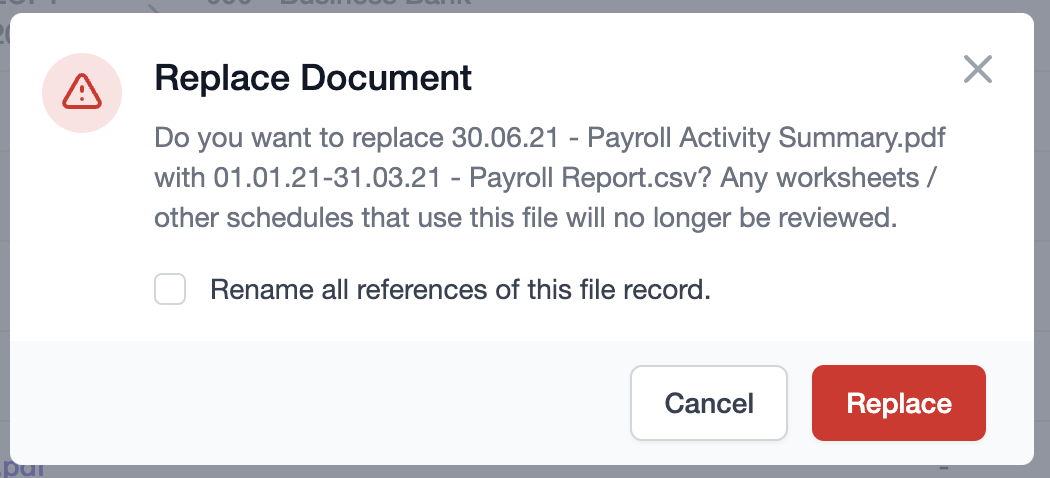
Replace (or Replace & Check-in)
Replacing a file will essentially replace the file with another, while preserving the links and references created from the original file. For example, if you had a file added that is referenced on several entries across multiple worksheets/other schedules, you can replace the file and thus preserve the established links to the entries and worksheets/other schedules.
Replacing checked-out files would replace the file and also mark it as checked-in.
Note
Replacing files referenced on worksheet/other schedule entries will affect the review status of the worksheet/other schedule.
Replacing a file will by-default rename the file, but will not rename existing references of the file record; however, you can opt to also rename all references of the file record to the new replaced file via the confirmation dialog.
To replace a file
- Head to the Files screen and navigate to the file you wish to replace.
- Select the file you wish to replace.
- Click Replace if it appears in the action bar, otherwise click the More actions menu button, then select Replace.
- A Replace confirmation dialog will appear alerting you that the file will be replaced and renamed and this action will affect the review status of worksheets/other schedules. You can also optionally select if you would like existing references to be renamed.
- Select Replace when you're ready.
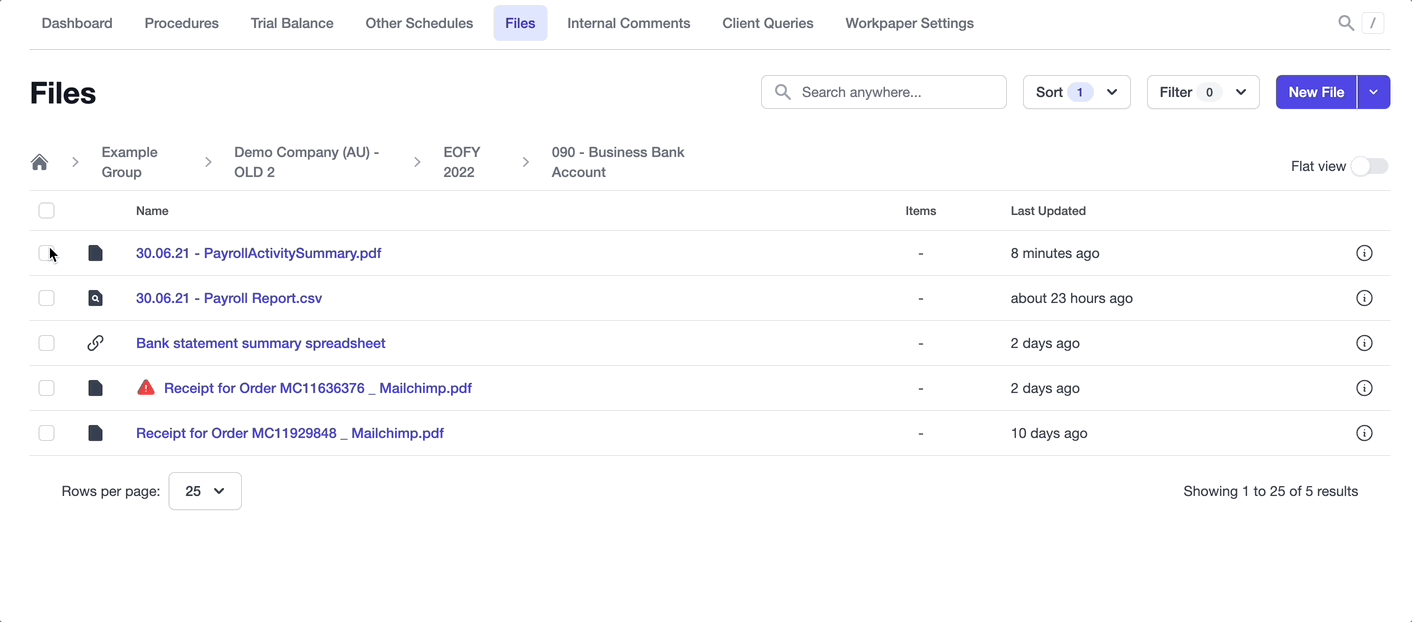
New reference
As discussed in Files overview, references are internal links within Workpapers to existing files to reduce file duplication. References are automatically created when referencing files on worksheet/other schedules entries, as shown in Adding & referencing files on a worksheet; however, references can also be manually created.
When creating a reference to a file, you will have the option of customising the reference name before creation via the confirmation dialog (see below).
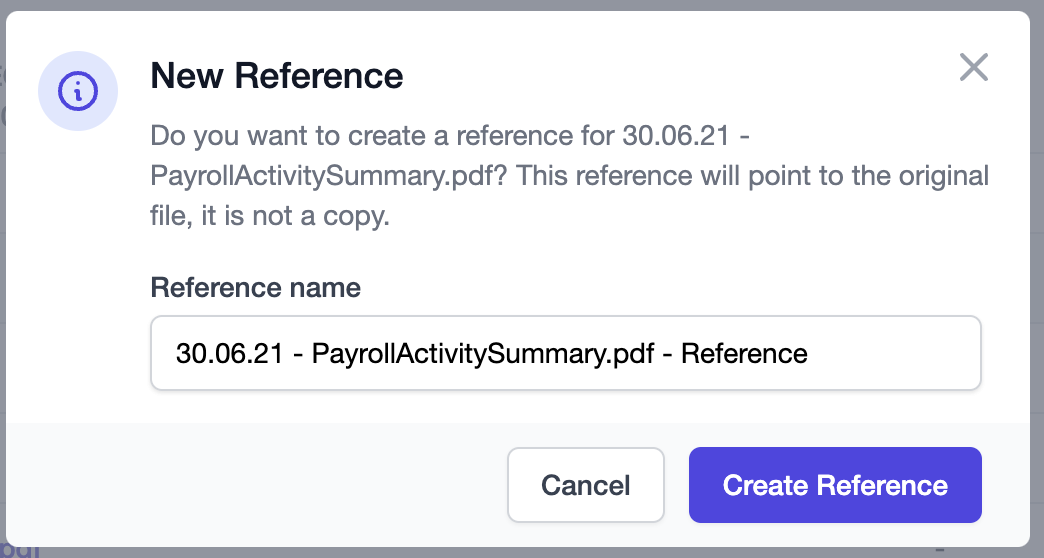
To create a new reference
- Head to the Files screen and navigate to the file you wish to create a reference to.
- Select the file you wish to create the reference to.
- Click New reference if it appears in the action bar, otherwise click the More actions menu button, then select New reference.
- A New reference dialog will appear allowing you to customise the reference name before creation.
- When you're happy with the name, select Create reference.
Mark as checked-in
As discussed earlier in the lesson, checked-out is a status given to files that have been downloaded that alerts users that the file may be outdated. To clear the checked-out status, a file can be replaced (see above for replacing instructions), or files can be manually marked as checked-in.
To mark a file/files as checked-in
- Head to the Files screen and navigate to the checked-out file(s) you wish to mark as checked-in.
- Select the file(s) you wish to mark as checked-in.
- Click Mark as checked-in if it appears in the action bar, otherwise click the More actions menu button, then select Mark as checked-in.
- A confirmation dialog will appear alerting you that the file(s) and its references will have their checked-out status cleared. Select Check in when you're ready.
Make Original
There may be instances where you wish to convert a file reference to its own file, thus severing the link to the original file. You can do this via the Make original action.
To make a reference an original file
- Head to the Files screen and navigate to the references you wish to make original.
- Select the file(s) you wish to make original.
- Click Make original if it appears in the action bar, otherwise click the More actions menu button, then select Make original.
- A confirmation dialog will appear then appear. Select Make original when you're ready.
Go to Original
Tracking references is difficult, and considering actions such as Replace and Mark as checked-in are only accessible from the original file being referenced, we've added a Go to original action for references.
To go to a reference's original file
- Head to the Files screen and navigate to the reference.
- Select the reference you wish to go to the original file for.
- Click Go to original if it appears in the action bar, otherwise click the More actions menu button, then select Go to original and you'll be taken to the original file location with the file info panel open.